
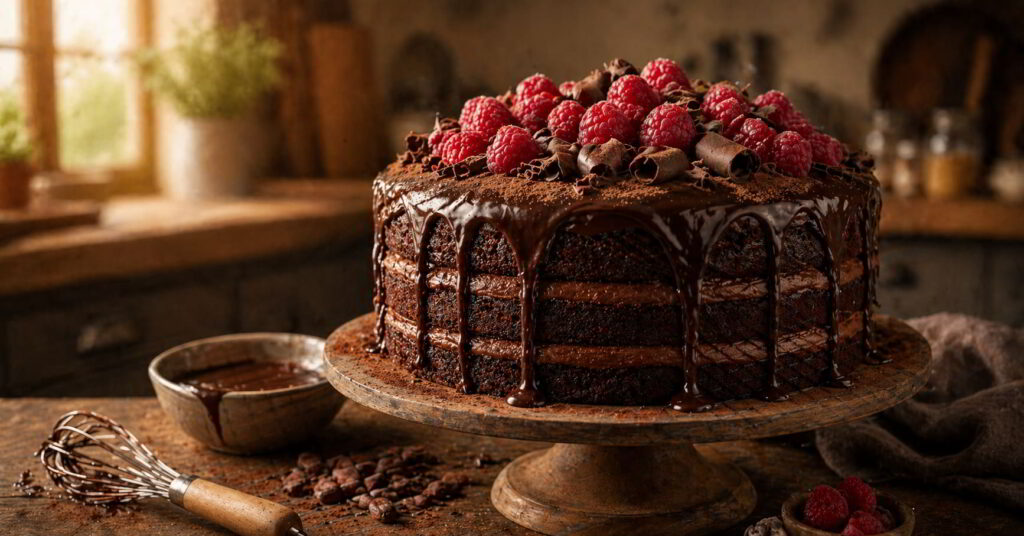
Look, I’m going to be honest with you. I spent years grabbing boxed cake mix off the grocery shelf, convincing myself it was “basically the same thing.” It wasn’t. The day I made my first chocolate cake completely from scratch — cracking real eggs into real cocoa, smelling that batter before it even hit the oven – everything changed. And I promise, it’ll change for you too.
- Why Scratch-Made Chocolate Cake Hits Different
- What You’ll Need: The Ingredient Lineup
- The Coffee Trick Nobody Told You About
- Let’s Bake: Step-by-Step Instructions
- Frosting: The Crown on Your Creation
- My Honest Tips After Making This Cake 100+ Times
- How to Store Your Cake (If There Are Leftovers)
- The Bottom Line
- Quick FAQs
This isn’t some fussy, 47-step recipe that requires a culinary degree. This is a real, approachable, Saturday-afternoon kind of bake that anyone can pull off. Whether you’re a nervous beginner or someone who’s been eyeing that stand mixer collecting dust on the counter, you’re in the right place.
Why Scratch-Made Chocolate Cake Hits Different
There’s a soulfulness to baking from scratch that no factory-produced powder can replicate. You’re choosing every ingredient. You know exactly what’s going into that batter — no preservatives with names you can’t pronounce, no artificial aftertaste.
Food brings people together on many different levels. It’s nourishment of the soul and body; it’s truly love.
Giada De Laurentiis
But beyond the health angle, it genuinely tastes better. A from-scratch chocolate cake has a depth of flavor — almost bittersweet, slightly earthy, impossibly moist — that boxed mixes just can’t compete with. Once your family tastes the difference, there’s no going back. Trust me on that.
What You’ll Need: The Ingredient Lineup
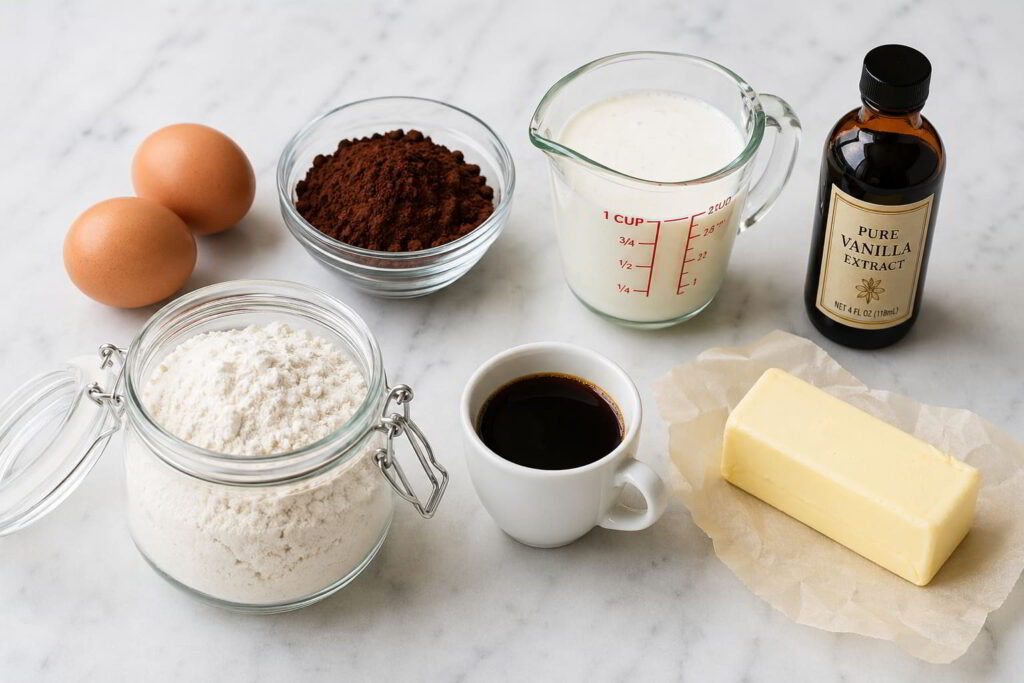
Here’s the beautiful thing — you probably already have most of these in your pantry.
Dry Team:
- 2 cups all-purpose flour
- 2 cups granulated sugar
- ¾ cup unsweetened cocoa powder (the good stuff — don’t skimp here)
- 2 tsp baking soda
- 1 tsp baking powder
- 1 tsp salt

Wet Team :
- 2 large eggs, room temperature
- 1 cup buttermilk
- 1 cup strong hot coffee (or hot water, but coffee is the move)
- ½ cup vegetable oil
- 2 tsp pure vanilla extract
The Coffee Trick Nobody Told You About
Alright, before you scroll past this — no, your cake will not taste like coffee. Here’s what happens: hot coffee essentially wakes up the cocoa powder. It coaxes out all those deep, complex chocolate notes that would otherwise stay hidden. It’s like the difference between listening to music on phone speakers versus real headphones. Same song, completely different experience.
If you’re strictly anti-coffee, hot water works. But I genuinely encourage you to try it once. You’ll wonder why every chocolate recipe doesn’t do this.
Also Read: 100% Nutritious Assam Mix – The Secret to Growth for Children and Strength for Elderly.
Let’s Bake: Step-by-Step Instructions
Step 1: Get Your Oven & Pans Ready
Crank your oven to 350°F (175°C). Grab two 9-inch round cake pans, give them a good coat of butter, and dust lightly with cocoa powder. (Pro move: cocoa instead of flour means no white residue on your gorgeous chocolate layers.)
Step 2: Mix the Dry Ingredients
Toss your flour, sugar, cocoa powder, baking soda, baking powder, and salt into a large bowl. Give it a good whisking. We’re not just combining — we’re aerating. This matters.
Step 3: Bring in the Wet Ingredients
Add your eggs, buttermilk, oil, and vanilla. Beat on medium speed for about two minutes. The batter will be thick and gorgeous.
Step 4: Add the Hot Coffee (The Magic Moment)
With your mixer on low, slowly pour in the hot coffee. The batter will become very thin — almost like chocolate milk. Don’t panic. This is exactly what’s supposed to happen. That liquid batter is your ticket to the moistest cake you’ve ever tasted.
Step 5: Bake It
Divide the batter between your two pans and slide them into the oven. Bake for 30–35 minutes. You’ll know it’s done when a toothpick poked into the center comes out with just a few moist crumbs — not wet batter, not bone dry.
Step 6: Cool Down & Don’t Rush This
Let the cakes chill in their pans for 10 minutes, then flip onto a wire rack. Here’s where patience becomes your best ingredient. If you frost a warm cake, you’ll end up with a melty, sliding mess. Walk away. Make some coffee. Come back in 45 minutes.
Frosting: The Crown on Your Creation
What’s a chocolate cake without frosting? Here’s my go-to simple chocolate buttercream that comes together in five minutes:
- 1 cup softened butter
- 3½ cups powdered sugar
- ½ cup cocoa powder
- ¼ cup heavy cream
- 2 tsp vanilla
- Pinch of salt
Beat the butter until fluffy. Gradually add powdered sugar and cocoa. Splash in the cream and vanilla, and whip until silky smooth. Adjust the cream if you want it thicker or thinner.
Other frosting ideas that pair beautifully:
- Dark chocolate ganache — for that elegant drip effect
- Cream cheese frosting — tangy meets chocolatey in the best way
- Whipped strawberry cream — unexpected, but absolutely incredible
Also Read : 12 Salad Mistakes That Are Secretly Making Your Healthy Meal Unhealthy
My Honest Tips After Making This Cake 100+ Times
Room temperature ingredients are non-negotiable. Cold eggs and cold buttermilk don’t emulsify properly. You’ll end up with a lumpy batter and a dense cake. Just set everything out 30 minutes before you start.
Sift your cocoa powder. Cocoa is a clump magnet. Nobody wants a pocket of dry, bitter powder hiding in their slice. Thirty seconds of sifting saves you from that disaster.
Don’t open the oven door for the first 20 minutes. I know it’s tempting. Resist. The sudden temperature drop can cause your cake to sink in the middle.
Measure flour correctly. Scoop and level with a knife – never pack it into the cup. Too much flour is the #1 reason homemade cakes turn out dry.
Invest in good cocoa powder. There’s a noticeable difference between budget cocoa and a quality brand. This is the star ingredient – let it shine.
Also read : How to Make Buttercream Frosting at Home
How to Store Your Cake (If There Are Leftovers)
Ha — big “if.” But just in case :
| Method | How Long | Notes |
|---|---|---|
| Countertop | 2–3 days | Cover with a cake dome or wrap tightly |
| Refrigerator | Up to 1 week | Bring to room temp before serving |
| Freezer | Up to 3 months | Wrap unfrosted layers in plastic + foil |
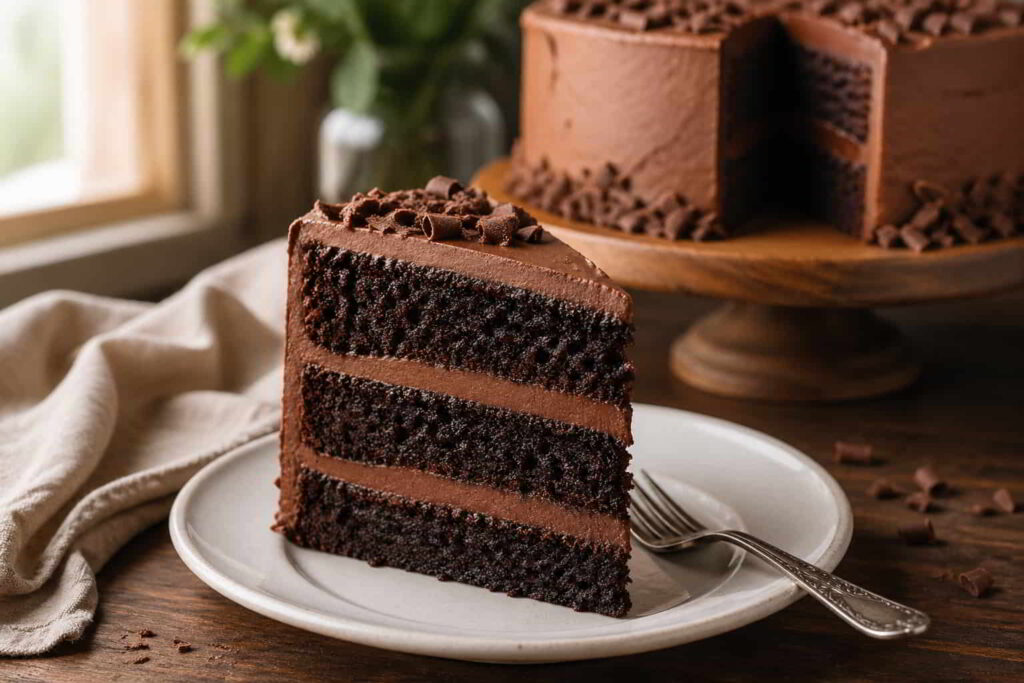
Honestly, this cake gets better the next day. The flavors deepen and the crumb gets even more tender as it sits. Day-two cake is chef’s kiss.
Styles come and go. Good design is a language, not a style.
Massimo Vignelli
The Bottom Line
Making a chocolate cake from scratch isn’t about being a perfectionist in the kitchen. It’s about slowing down, getting your hands a little messy, and creating something genuinely yours. Something that fills the house with that warm, chocolatey aroma that no candle could ever replicate.
This recipe has been my go-to for birthdays, holidays, random Tuesdays, bad days that need chocolate, and good days that deserve celebration. It’s never once let me down, and it won’t let you down either.
So preheat that oven, dust off that whisk, and make something beautiful today.
Quick FAQs
Can I make this as cupcakes ?
Absolutely! Same batter, just reduce baking time to 18–22 minutes. Makes about 24 cupcakes.
What if I don’t have buttermilk ?
Easy fix: add 1 tablespoon of white vinegar or lemon juice to a measuring cup, then fill to the 1-cup line with regular milk. Let it sit 5 minutes. Boom — homemade buttermilk.
Can I make this egg-free or vegan ?
You can! Swap eggs for flax eggs (1 tbsp ground flaxseed + 3 tbsp water per egg) and use plant-based milk and oil. The texture shifts slightly, but it’s still delicious.
Why did my cake sink in the middle ?
Usually it’s one of three things: oven was opened too early, too much leavening, or the cake was underbaked. A toothpick test is your best friend.